Are you considering installing the Ultimate Blocks plugin but confused about whether it’s good for the website? Don’t worry; your problem will be solved after reading this guide, as I’ll discuss the features and my experience in detail.
I’ve been using this Gutenberg plugin for up to three months, and honestly, it has made the content posting task super easy. Before that, I spent a lot of time creating custom blocks for important notes, FAQs, etc., with the help of coding.
Then after installing the Ultimate Blocks plugin, my issue was solved. It has many pre-built blocks; you only have to download the plugin, and every option will be available in the WordPress by default “Add Block” setting. Let’s explore it in detail!
Disclosure: We get a commission when you buy a product via our affiliate link at no additional cost.
Table Of Contents
Ultimate Blocks Plugin – A Quick Overview
The Ultimate Blocks is a fantastic plugin that enhances the Gutenberg block editor with additional blocks and features. It is designed to give users more flexibility and control when posting or customizing content in WordPress.
The Gutenberg block editor has been the default content editor in WordPress since 2018. It introduced a block-based approach, allowing users to create and arrange content using different blocks, such as paragraphs, headings, images, and more.
The issue with the Gutenberg block editor is it’s good, but the blocks are limited. If you want to add something new, like a bordered or featured box with the image, you must add it via coding. Those who do not know coding are left behind with no option.
This plugin solves coding problems by providing ultimate blocks. For example, you can add buttons, a table of content, a styled list, a call to action, testimonials, and much more after customizing them completely by changing the background color and border.
8 Admirable Features of Ultimate Blocks Plugin
Here are the best features of the Ultimate Blocks plugin I admire the most. Remember to use these features, first, make sure the plugin is installed on your website. You can easily do this with the “Add Plugin” option in the WordPress dashboard.
1. Table of Content
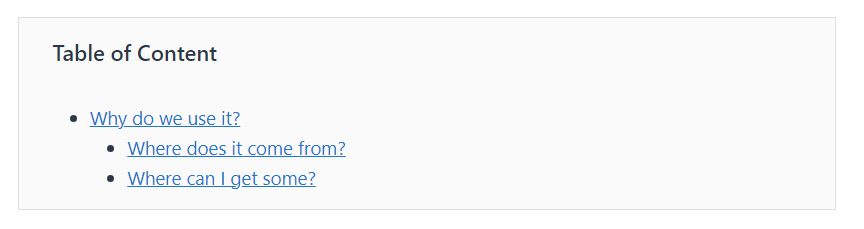
The table of content is an important part of each article. We’re living in an era where we don’t have much time to read everything; people only want to get to the point of information about the topic.
Suppose you’ve posted a detailed article about “How to fix errors establishing data connection issues.” The main solution part is after the introduction and the second heading of the article, where you’ve addressed the causes of the error.
If there’s no table of content, the user will probably leave the site rather than scrolling the entire page for the answer. But with a table of contents, readers can easily locate specific sections or subtopics within your content, like the image above.
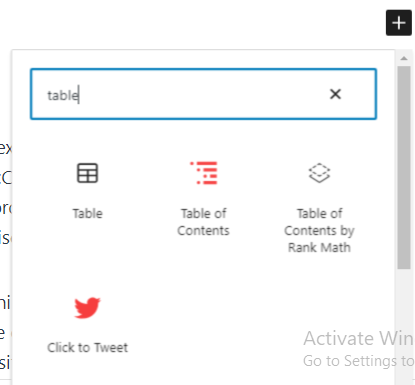
It’s super easy to add to the web page using the Ultimate Blocks plugin. Click the “Add Block” option or the (+) icon. After clicking on it, type “Table of Content” in the search bar and select this option.
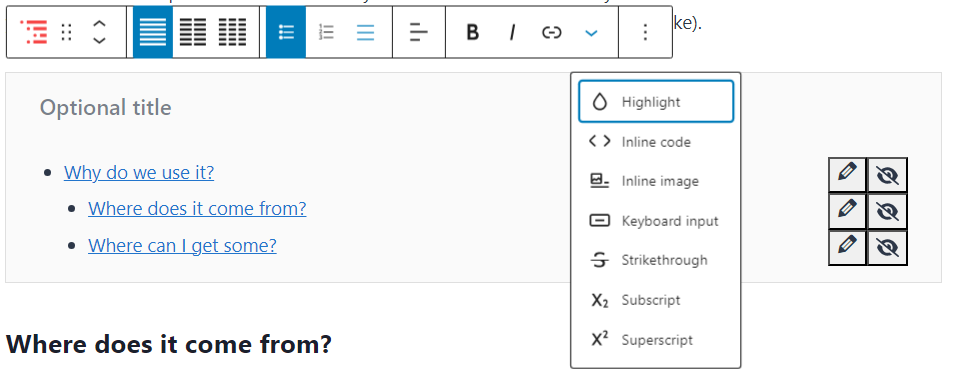
Once you add the table, customize it as per your preference. You can change the layout style, add or delete headings, and change the background and text color of the table of contents with a few clicks.
Suppose you have a business website like your competitors, but how can you get them to trust you? The simple answer is to show your customers you’re credible, experienced, and have been working in the field for years with the help of “Reviews or Testimonials.”
Testimonials are like social proof, showing positive responses to potential customers to build trust. Before Ultimate Blocks Plugin, adding the reviews was quite difficult because you had to do coding or purchase a theme that included a testimonial page.
Likewise, if you write a product review, you should summarize the points in an attractive way and push your readers to react to your call to action! Check the below image of the Ultimate Blocks plugin’s Review Block output.
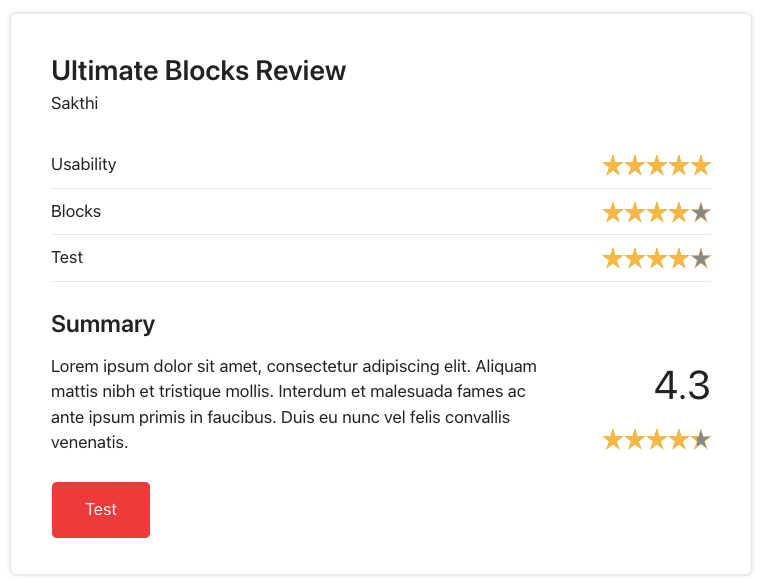
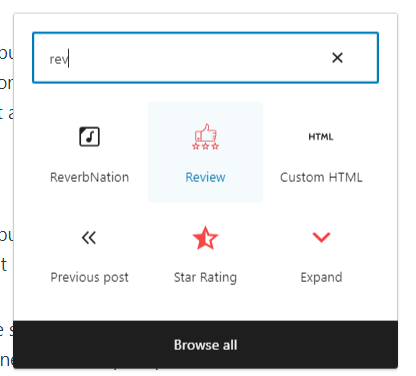
Everything is simple; you only have to click the “Add Block” option and write “Review” in the search bar. Once the “Review” option appears, click on it and congratulate you’ve successfully added a review section.
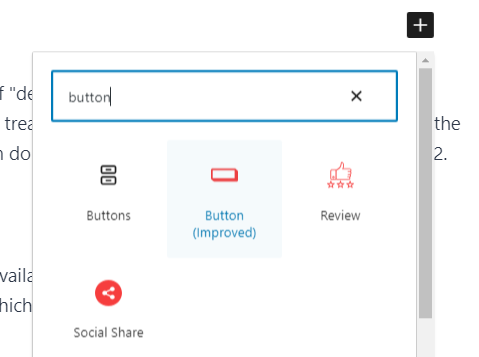
The same goes for adding buttons on the web page. If you want to add “Call-to-action” buttons, navigate to the search bar and type “Buttons.” That’s it; you’ll get a button on the web page within a second.
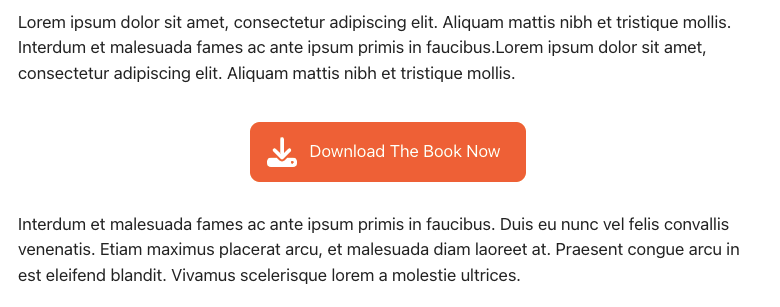
Do you want to see how the Ultimate Blocks Pro Button looks like? Check the below screenshot! You may customize the color, and icon as per your preference.
3. Tabbed Content
In simpler terms, the “tabbed content” option is about having different folders or sections on a website that you can easily switch between by clicking. It’s a great option if you’re recommending your favorite products in any specific domain.
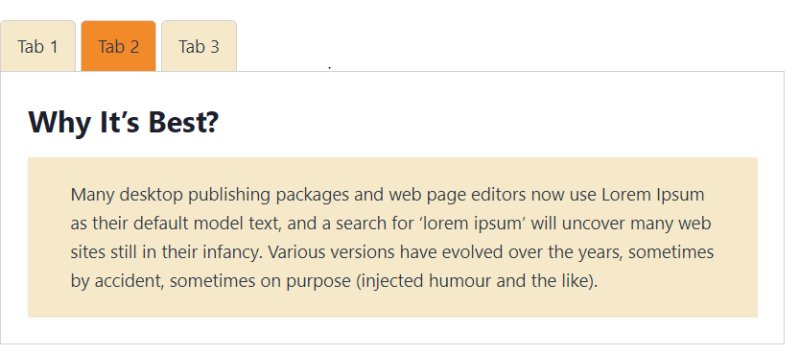
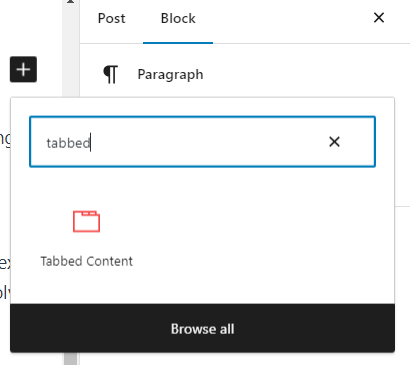
You can easily add the product’s best features and why you think it’s best, and the reader will get your point easily. Adding it to the page is simple; write “Tabbed content” in the search bar, and it will appear on the web page.
4. Post Grid
A post grid is a layout or design element commonly used in web development to display a collection of posts or articles in a grid-like format. It includes post title, image, author, excerpts, posting date, etc.
Do you wonder what the post grid looks like? Check the image below!
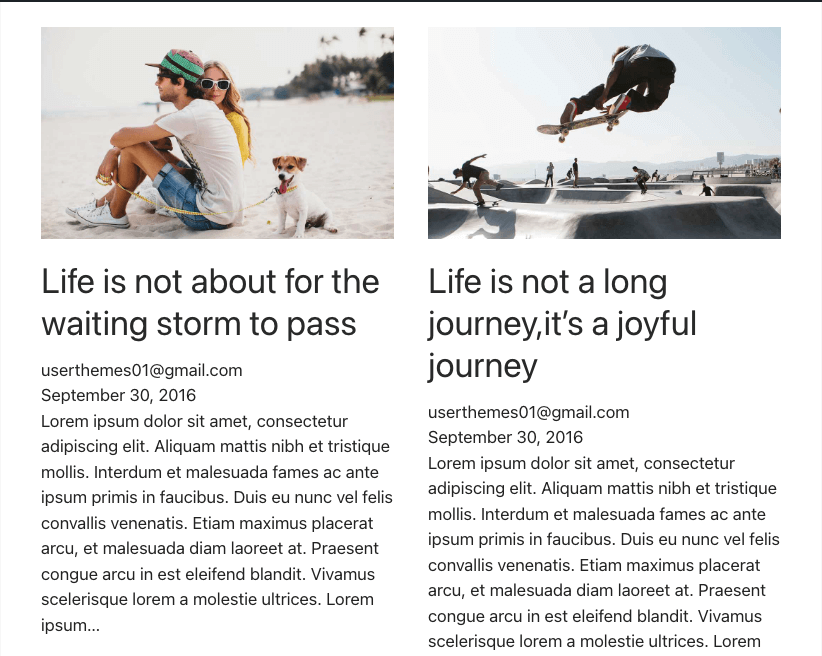
It is my favorite feature, as it allows for the efficient display of multiple posts, making it easy for users to scan and access the content they are interested in. The best part is that you can include or exclude the categories, author names, dates, excerpts, etc, you don’t want to add.

To add a post grid, first, decide where you want to add it. Click “Add Block” in the same place, type “Post Grid” in the search bar, and click the option. Then you can customize it as per your preference.
5. Content Toggle
FAQs are essential to any website’s content, but let’s be honest; presenting them in the same old traditional way can be a bit uninspiring. We all crave something more engaging and interactive.
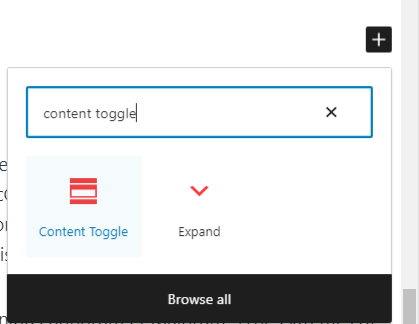
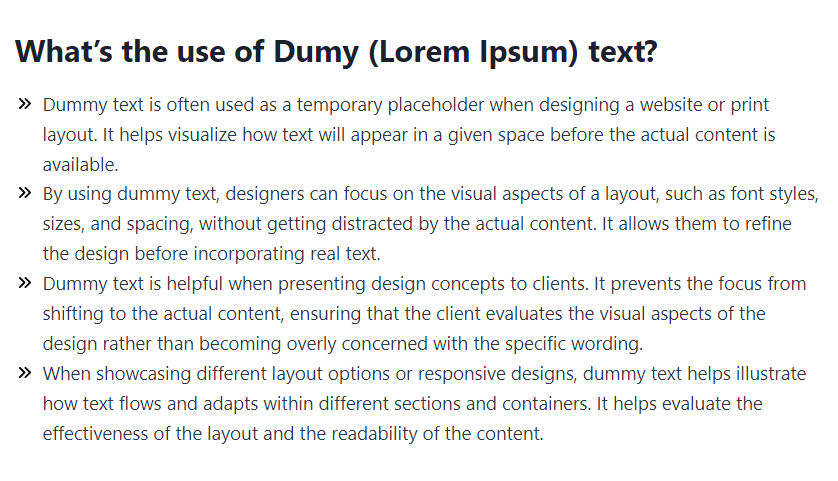
That’s where the magic of content toggle comes into play! With the help of the “Content Toggle” option, you can present your FAQs in a compact and visually appealing format which you can see in the image below.
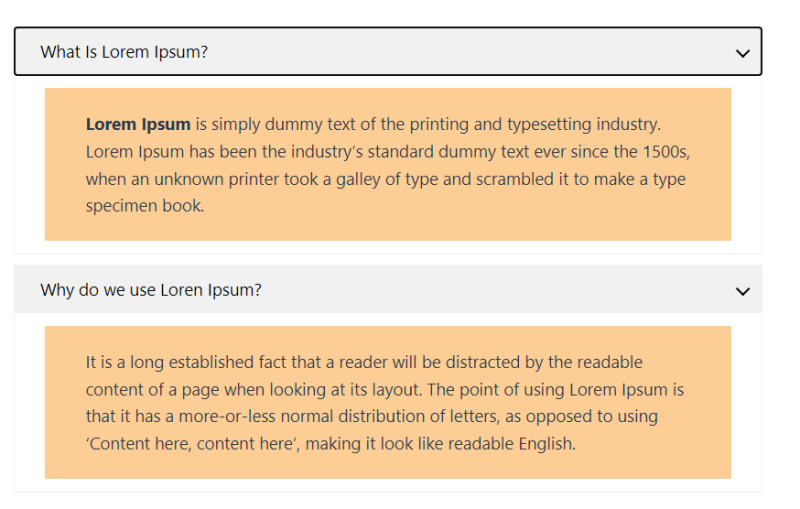
You only have to follow a few steps, like writing “Content Toggle” in the search bar of “Add Blocks.” then add as much content toggle as you want according to your content, and customize it by adding background or text color, enabling FAQ schema.
6. Styled List
The next best feature of the Ultimate Blocks plugin is the “Styled List.” It is designed so readers can scan through information and quickly identify key points or important details. Here’s how it will look on the web page.
This feature is an excellent option for writing the pros and cons of a product or adding a step-by-step guide about a specific topic. Search “Styled List” in the search bar, and you can easily add the list on the web page.
7. Call To Action
A call-to-action CTA is a phrase or element on a web page that encourages users to take a specific action. For example, you can see the image below; the CTA in the image encourages readers to subscribe to the newsletter.

If you have something similar in your mind, like you want the audience to like social media pages, subscribe newsletter, book a call, etc, the Ultimate Blocks Plugin CTA is a great option. It allows you to add CTA and customize the color and text size the way you want.
8. Styled Box
My last favorite feature is the Styled Box. The name may look similar to the Styled List option, but both differ. Styled Box allows you to have four types of boxes: notification box, feature box with images, number box, and bordered box.
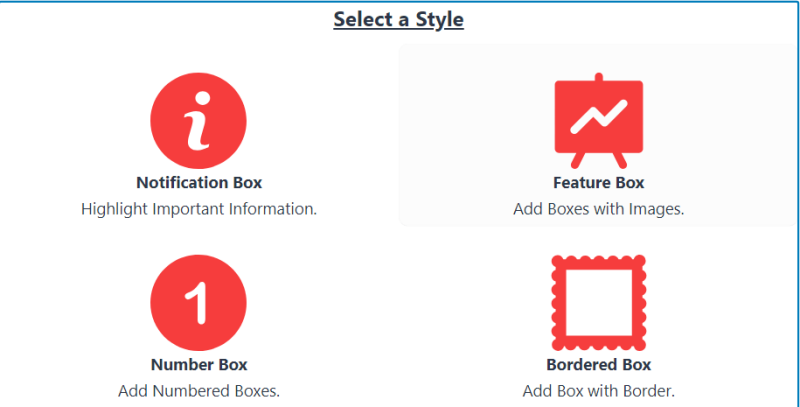
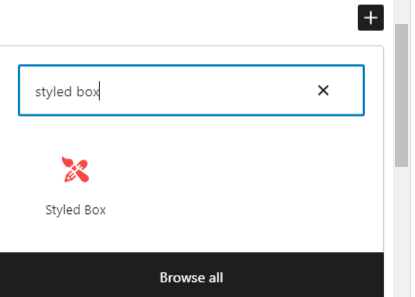
To have this option, select “Add Block” and find “Styled Box” among all options. Once you click on the “Styled Box” name, you’ll see four box options, as shown in the image above. Select the type of box and customize it according to your requirements.
Additional Features of Ultimate Blocks Plugin You Should Know
After discussing the best features, I also want to share other benefits of the Ultimate Blocks plugin. These features are quite helpful in contributing to a seamless and enriching content creation experience.
- Content Filter – Adding different categories based on specific criteria is a fantastic option. For example, if you run a blog, you can create a category for keyword research and select a few of your blog articles related to the topic so a user can access it by just clicking on the content filter (category).
- Countdown – Using the Ultimate Blocks plugin for an online store will help you create a countdown on a web page for sales. This will encourage customers to purchase the product before the sale ends.
- Progress Bar – Having a progress bar is excellent for a portfolio website. We often include the progress of specific skills in the portfolio websites. With this feature, you can show your progress and how much you’ve learned between 1% and 100%.
- Expand – It allows users to control the visibility of additional content. Instead of showing the entire paragraph or all content, users can add a “show more” block at the end.
- Star Rating – This feature is a blessing for websites that review software, games, or products. By using this, you’ll be able to add five stars anywhere in your content to rate the specific product.
- Image Slider – The image slider is the best feature for graphic designers or photographs. It’s all about adding a slider on any web page you like to show pictures and your portfolio to customers.
- Social Share – You shouldn’t rely solely on SEO to get the audience. It’s best to add social share buttons so your readers can share the blog post easily if they like it on social media.
- Call to Tweet – Call to tweet feature allows readers to share specific content or messages on Twitter with just a click. It simplifies sharing content on Twitter and can be an effective way to increase social engagement.
- Divider – With the “Divider” block, you can add visual breaks between sections of your content and choose from various styles for the divider line, such as solid lines, dotted lines, thin lines, or custom styles.
- Review Schema – Review Scheme allows you to add structured data (rating, few best features, summary, etc.) to your reviews, which also helps better present your review content in search results.
Ultimate Blocks Free Vs Pro! Which One Is Better?
Although the Ultimate Blocks plugin is free of cost on the WordPress plugins library, there’s a paid version. You can download the paid version from the official website of the Ultimate Blocks plugin. So, why should you go with the premium version rather than free?
So, I’m suggesting the Pro version because you can easily use it on multiple websites. If you’re using the free version now, remember it’s only available for one website. Those who want to use it on multiple sites need Unlimited Sites or Lifetime plans.
Apart from the website limit, the paid version lets you save different block styles, which you can easily use while working on your other websites. Besides, you also get premium support for the entire year. Here are the three versions available for Ultimate Blocks plugin:
- Single Site – $39 per year.
- Unlimited Sites – $69 per year.
- Lifetime – $349 one time.
What do I recommend? If you are a beginner, you may use the free plan and access all the features mentioned in this article. However, I recommend the Pro version to avoid the hassle of making elements repeatedly. So, the primary difference is about customization.
What Else Does The Ultimate Blocks Offer? (Personal Experience)
First, let me tell you how this plugin has made my life much easier. Before I discovered Ultimate Plugin, I struggled with managing my website. But since I installed it, everything has become a breeze.
Seriously, they have thought of everything! Ultimate Blocks has covered whether you must create eye-catching call-to-action buttons, informative testimonials, or engaging pricing tables.
Another thing I love most about Ultimate Plugin is its user-friendly interface. All options are right in your WordPress “Add Block” settings. It’s that simple! You only need to click on the block name, which will appear on the page.
Apart from the plugin performance, you don’t need to worry about your website. I know a lot of plugins are available that make the website slow, but that’s not the case with Ultimate Blocks plugin. It will work perfectly fine and won’t harm your website.
Wrapping Up
As per my experience, the Ultimate Blocks plugin is a fantastic option for anyone Gutenberg editor in WordPress. Whether you’re a beginner or an experienced developer, it will save everyone’s time with the help of pre-built blocks.
All you have to do is select the desired block. Then customize it to your liking (if you wish) and effortlessly incorporate it into your content. It’s as easy as a few click options (no need for coding) to elevate your website’s visuals.