By expanding your implementation beyond a basic setup and incorporating automation, design consistency, and SEO best practices, you can transform a simple author bio into a powerful trust-building element on your website.
In this blog post, I’ll explain how to add the Author box in Divi theme installed WordPress website. It is a simple process that can be completed in a few minutes. You don’t need a design professional to complete this task.
You need to use the “Module” feature in the Divi theme builder to customize your Author bio using its detailed design settings. These settings are self-explanatory; no prior experience is required to use these preferences.
Before we dive into the detailed guidelines for adding an author bio to your Divi site, let me summarize the benefits of including this section in your blog posts! If you are not using this best WordPress theme, get it now through the Divi Discount to build attractive sites.
Disclosure: We get a commission when you buy a product via our affiliate link at no additional cost.
Table Of Contents
Establishing Credibility – Your audience will most likely trust the information you provide when they know who wrote it and understand your expertise.
Enhancing Branding – It ensures a cohesive look and feel across your content, reinforcing your brand identity.
Improving User Experience – It can help visitors navigate your site effectively and find content that matches their requirements and interests.
Boosting SEO – It sends a signal to Google and other search engines about your qualifications and experience, which can positively impact the EEAT score of your site.
The limitation of the Divi theme is that it doesn’t include a built-in author box by default. It means you need to create one manually or use alternative methods such as Divi modules, dynamic content, or plugins. Let’s see the different methods of adding an author profile to your blog posts.
Method 1: Use Divi Modules (Person/Blurb)
Let’s get into the simple steps!
Step 1: Log in to your WordPress dashboard, go to the post section, view any published posts, and click “Enable Visual Builder,” as shown in the screenshot below!
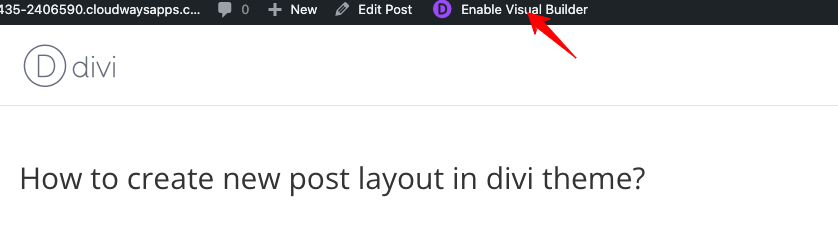
Now, you have entered editable mode!
Step 2: Hover the cursor over the post’s bottom section; it will display the editing options. Click “Add New Module,” which is the black circle + button. (Marked in the image below)
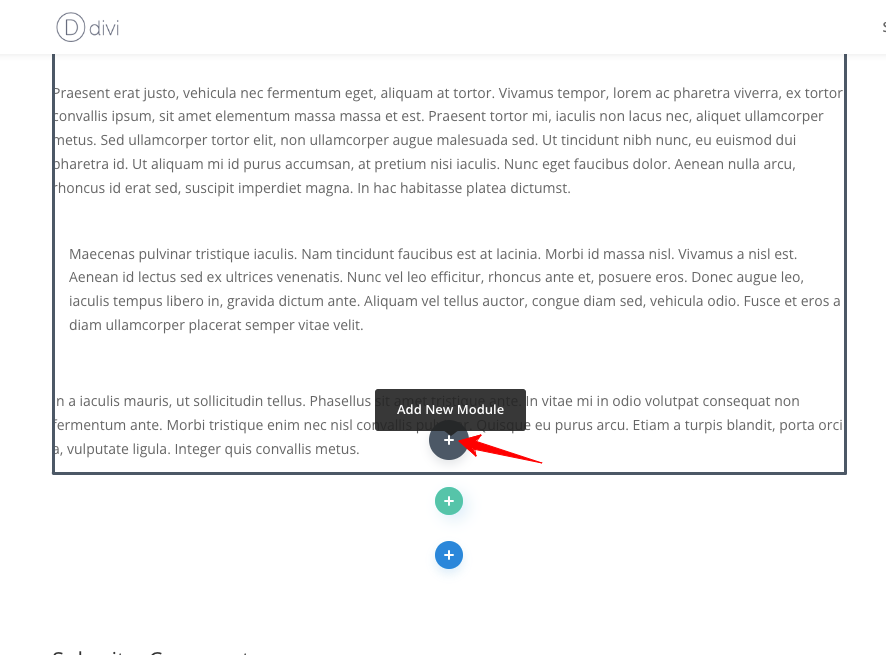
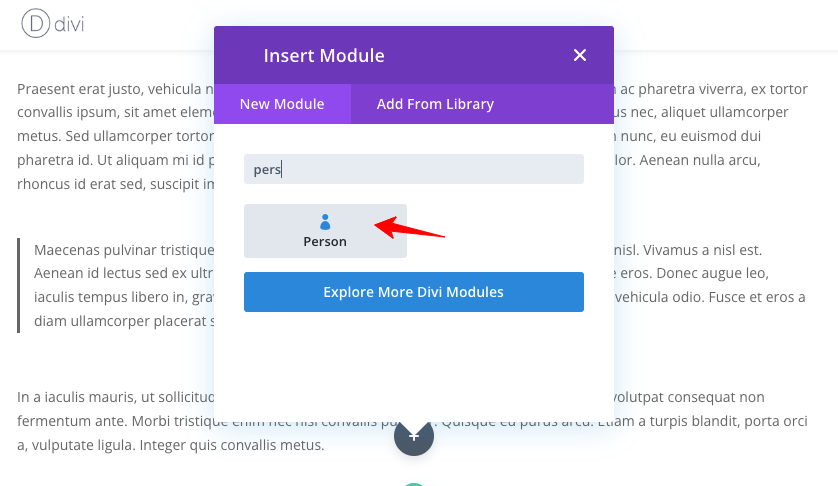
Step 3: After clicking this option, you will get the settings to search the module. Find out the “Person” module.
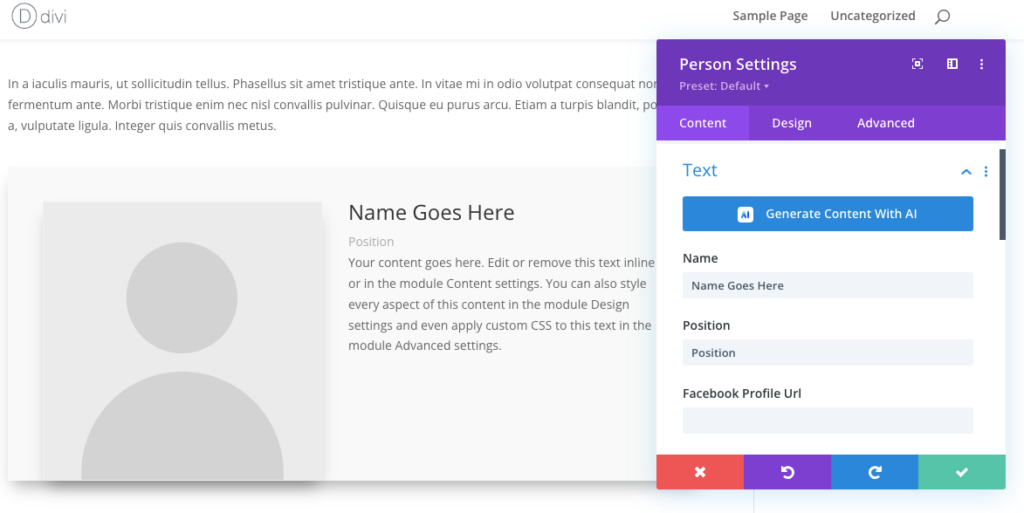
Step 4: Select this module and enter details like your Name, Position, Social Media Profile, and Description. Check the following image for reference.
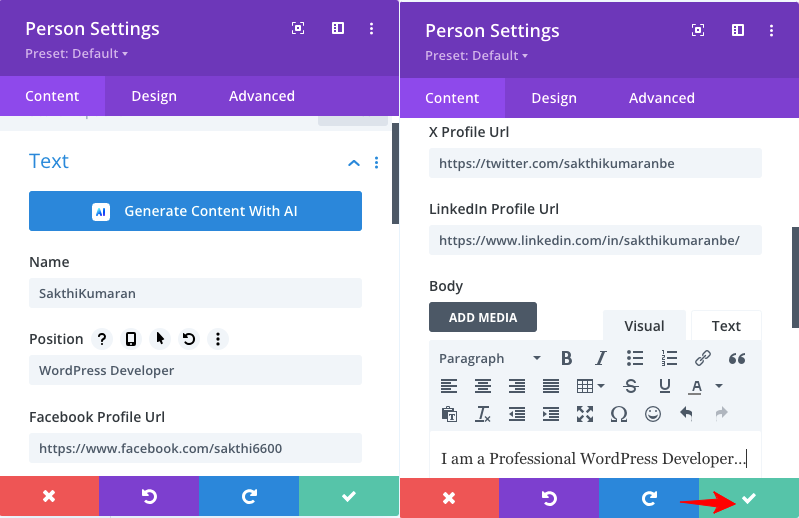
Step 5: Look at the following screenshot to see how I have added my details, including name, designation, social profile, and profession description. After filling in your details, hit the green tick button to save the information you have given.
Step 6: Next, I will add my image in the Author Bio section. Let’s add my picture through the “Image” option and fix its background color.
Upload your profile image to the WordPress media library and add the image. Now, go to its background settings and choose the color preference. See the screenshot below for reference.
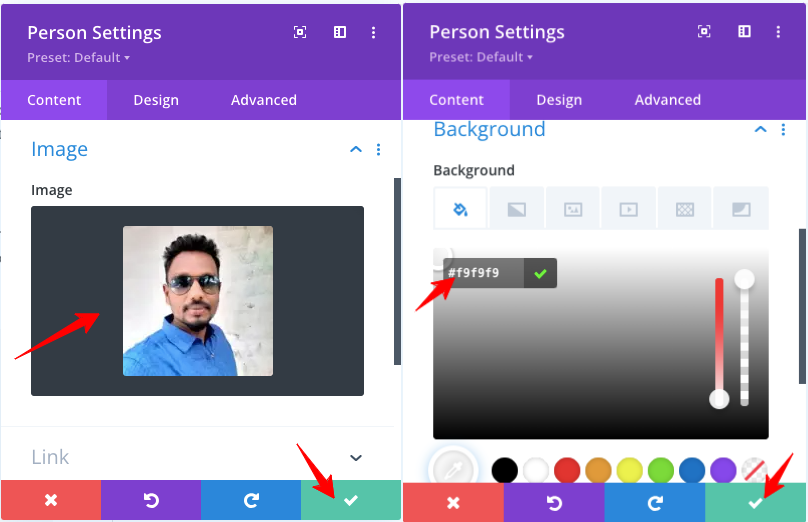
After uploading your image and choosing the background color, don’t forget to click the Green Tick Button to save your changes.
Step 7: Let’s move on to the “Design” settings, where you can set up the content sections like icons, image, titles, and so on.
In this section, you have the option to fix
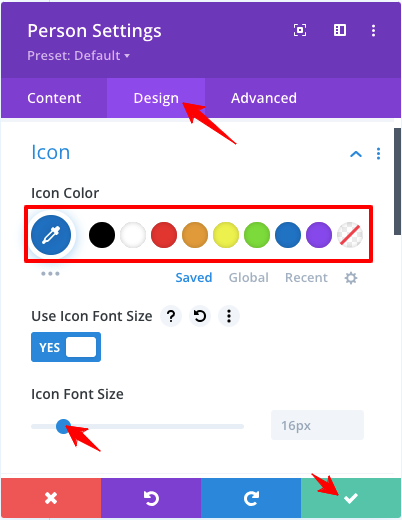
- Icon Colour
- Icon Font Size
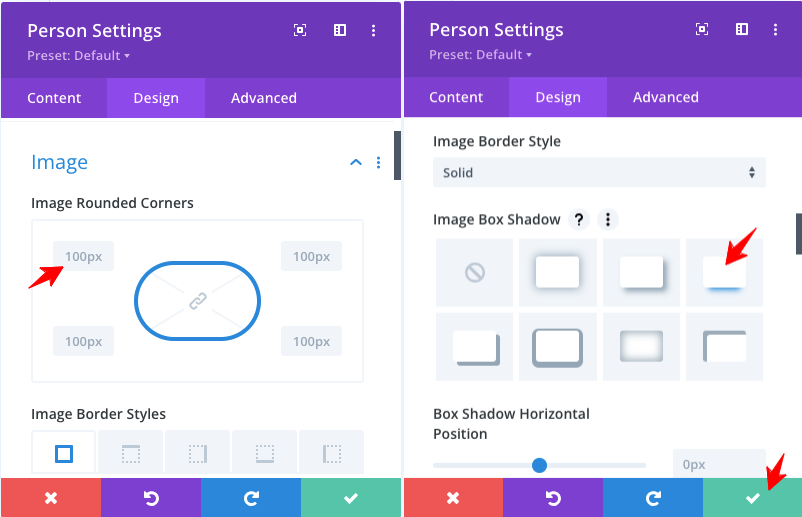
- Style & Border For Image
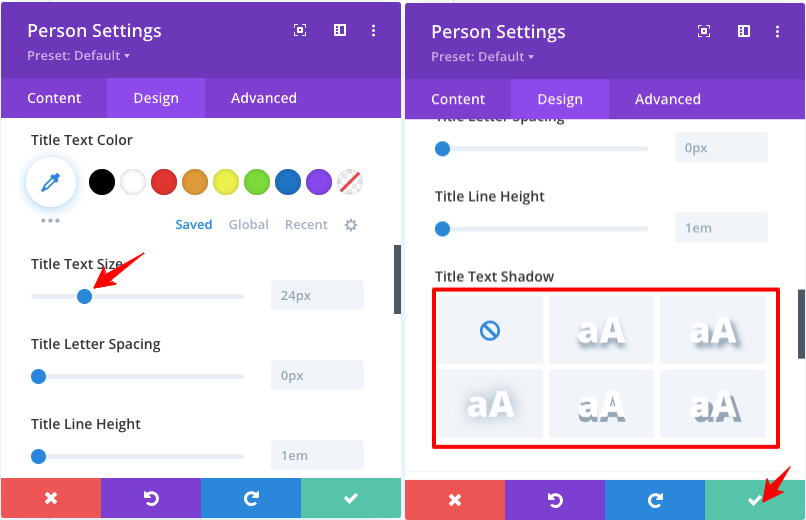
- Title text size
- Title letter spacing
- Title line height
- Title Text shadow
- Spacing (Margin & Padding)
- Box Shadow
Check the setting options for social media Icons! You can change the Icon color and size.
Likewise, you can design the Image shape and apply a shadow effect! Have a glance at these settings through the images below. I’m using 100px to get rounded corners for my profile image in the author bio.
Set up everything for the Title, like changing font family, size, shadow, spacing, and letter height.
Next, I will customize the spacing and background shadow settings. Refer to the image below.
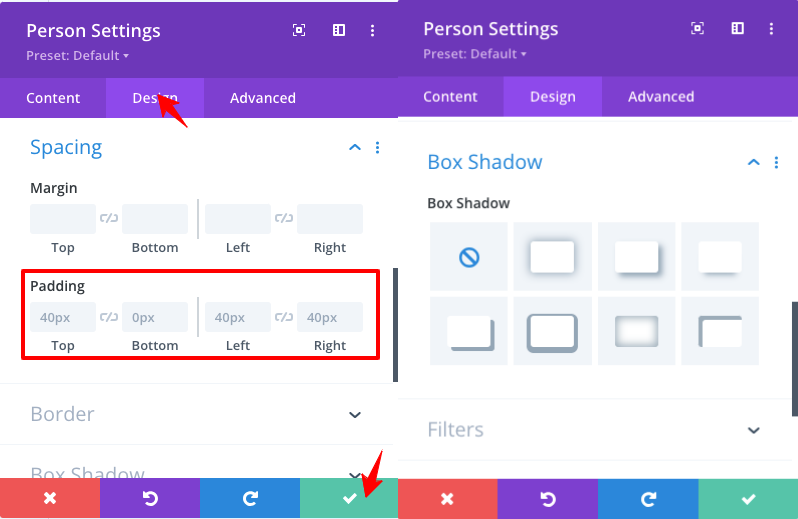
Click the Green Tick Button to save all your changes. That’s all! Your author box is ready!
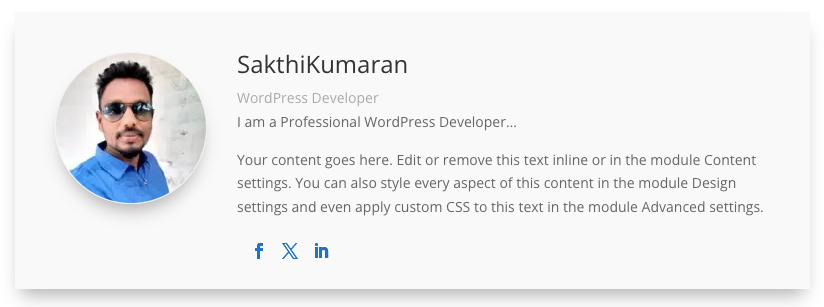
Before design
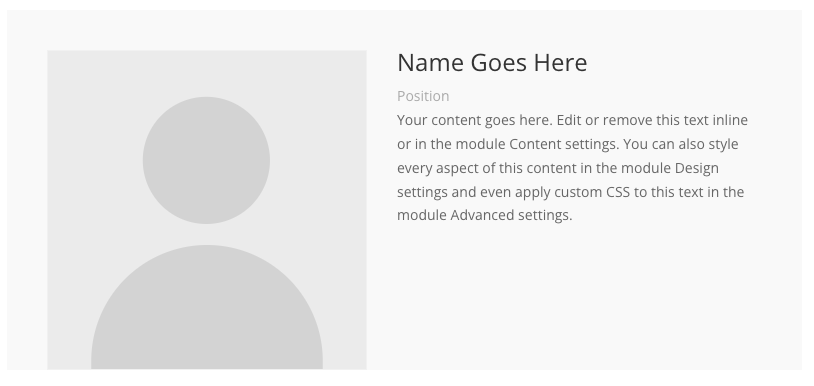
After design
Another flexible option is to use the Blurb module to create a custom author box design. This method gives you more control over layout and styling compared to the Person module.
To do this, add a Blurb module at the end of your blog post and insert the author image, name, and description. You can style the layout to appear more like a modern author card, adjusting icon placement, borders, and spacing.

The Blurb module is especially useful if you want a unique design that stands out. It allows you to experiment with different layouts while still keeping the author bio section clean and readable.
However, similar to the Person module, this method is also manual unless combined with dynamic content.
The most powerful and scalable way to add an author box in Divi is by using the Divi Theme Builder with dynamic content. This method allows you to create a single author box layout that automatically updates for every post.
Start by navigating to the Divi Theme Builder and creating a template for blog posts. Within this template, add a section where you want the author box to appear.
Now insert a module such as the Person or Blurb module and enable dynamic content for each field. Instead of manually entering the author name or bio, select dynamic fields like “Post Author Name,” “Author Bio,” and “Author Profile Picture.”
Note – Open the module settings, and you’ll see fields like Name, Body Text, and Image. Next to each of these fields, look for the small dynamic content icon (usually a database cylinder). Click that icon instead of typing manually.
Check the reference image!

Once this is set up, Divi will automatically pull the correct author information for each post. This eliminates repetitive work and ensures consistency across your website.
A dynamic author box in Divi is especially useful for multi-author blogs or content-heavy sites where scalability is important.
If you prefer an automated solution, using a WordPress author box plugin is a great option. Plugins can automatically display an author bio below every post without requiring manual design work.
Popular options include tools like “Simple Author Box” or dedicated Divi author box plugins. These plugins typically pull author details directly from the WordPress user profile and display them consistently across your site.
This method is ideal for users who want a quick setup with minimal customization. However, it may not offer the same level of design flexibility as Divi’s native modules.
Frequently Asked Questions
When adding an author box in Divi, many users make the mistake of creating a static design that must be manually updated for every post. This approach quickly becomes inefficient as your content grows.
Another common issue is not linking the author name to an author archive page, which reduces opportunities for internal linking and user engagement.
A well-designed Divi author box can significantly improve your website’s SEO performance. It helps reinforce content credibility and aligns with Google’s emphasis on high-quality, trustworthy content.
By clearly displaying author information, you provide transparency and build trust with readers. This is particularly important for blogs in competitive niches where authority matters.
An author bio also encourages internal linking by directing users to other posts written by the same author, increasing session duration and reducing bounce rate.
The reason is that Divi focuses on design flexibility rather than predefined blog elements. Instead of forcing a default author section, Divi gives users complete control to design their own layouts. While this approach is powerful, it also means that beginners must manually create an author box using modules or plugins.
Wrapping Up
Including your Author bio in the blog articles provides readers with information about your expertise and experience. It can create a personal connection between you and your audience. Besides, the more readers know about you, the more likely they are to trust the details in the blog post.
It can also contribute to your site’s overall branding and help you establish a recognizable identity. As search engines aim to deliver authoritative content, knowing more about you can help search spiders assess the credibility of the information you share, improving your SEO performance.
If you are using the Divi WordPress theme to build your website, design an attractive Author bio to make readers feel comfortable interacting with you, as it will help you build trust with your audience. I hope you understand how to create an Author box in the Divi theme. If you need help reach out to me!
Other Divi Theme Tutorials
How To Remove Sidebar in Divi?