If you are using Divi, customizing the footer can feel somewhat confusing because it has several ways to control footer design.
In this blog post, you’ll learn every method to edit Divi theme footer using Theme Builder, widget-based footer editing, and customization of footer credits.
I’m using the Divi theme for my WordPress blogs and client sites and hence this tutorial is based on my real-world experience in maintaining WordPress websites since 2010.
Note: If you use the Divi theme through group-buy tools or have a cracked version, I suggest you avoid using those vulnerable theme copies. Instead, get the new Divi theme with an official discount.
Disclosure: We get a commission when you buy a product via our affiliate link at no additional cost.
Table Of Contents
Before making changes, you need to understand how the Divi footer is structured. This is where most tutorials fail.
Divi has three different footer layers:
1. Default Footer (Legacy System)
This includes: Footer widgets, Bottom bar (copyright section), and Theme customizer settings
2. Theme Builder Footer (Modern System)
Controlled through Divi Theme Builder Global Footer
3. Custom Footer Layout (Advanced)
Built using Visual Builder sections, rows, and modules
Important: If a Theme Builder footer exists, it overrides the default footer.
It is the most basic way to modify the footer is through the WordPress Customizer.
Steps:
- Go to your WordPress dashboard
- Navigate to Appearance → Customize
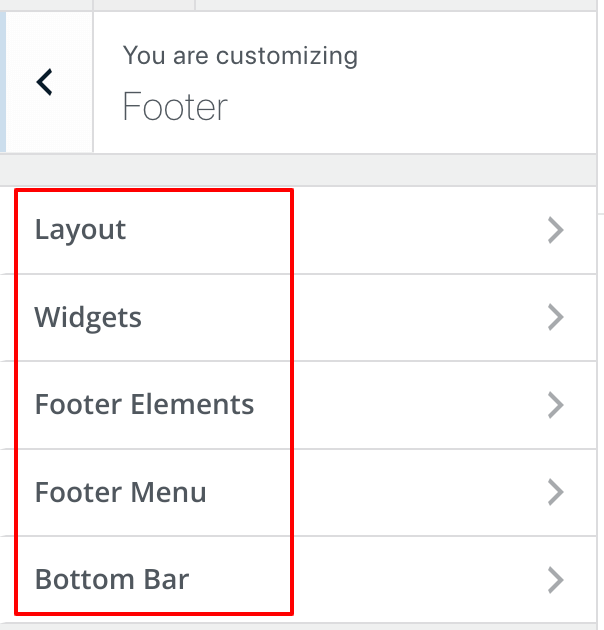
- Open Footer Settings
- You can modify the Footer layout, Widgets and Bottom bar text (copyright area)
Best for: Simple websites, Small layout changes, Quick edits
Limitation: Does not support advanced design customization.
This is the modern and most powerful method.
Go to: Divi → Theme Builder
Here you can create a Global Footer that overrides everything else.
- Open Theme Builder
- Click “Add Global Footer”
- Choose Build Global Footer
- Use Visual Builder to design:
- Columns
- Menus
- Contact info
- Social icons
- Call-to-action sections
You will have full design control with this method and don’t need to rely on any widgets.
Pro tip: Since the Divi 4+ version, I’ve found Theme Builder footers are essential for brand consistency and mobile responsiveness.
Some Divi layouts still rely on widgets.
- Go to Appearance → Widgets
- Look for footer widget areas:
- Footer 1
- Footer 2
- Footer 3
- Footer 4
- Add – Text, Navigation menus, Images, and Custom HTML
This method is best for Blog-style websites and Content-heavy layouts
The bottom bar is the most searched customization.
Go to Divi → Theme Customizer

Navigate to: Footer → Bottom Bar
Edit: Copyright text, remove “Powered by WordPress” and add custom branding (© 2026 YourBrand. All rights reserved.)
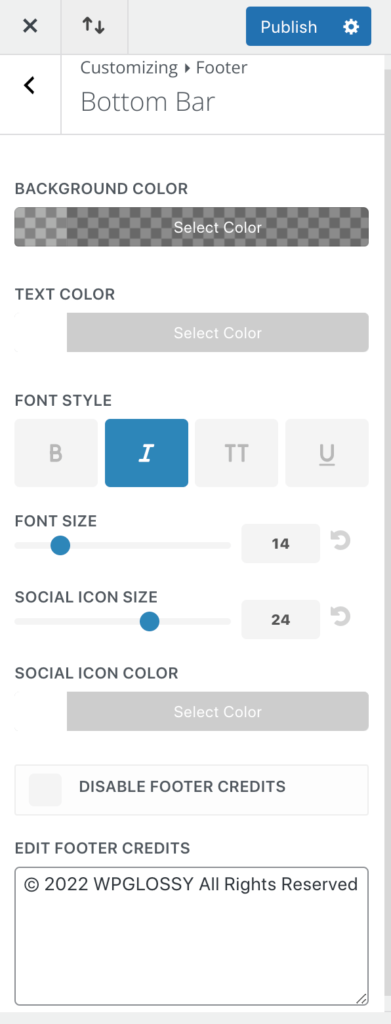
When you are done designing the Bottom bar, click “Publish.“
Now, write down your text in the Edit footer credit section; it will automatically show at the bottom of your site. The best thing is that you can customize it easily and upload custom fonts.
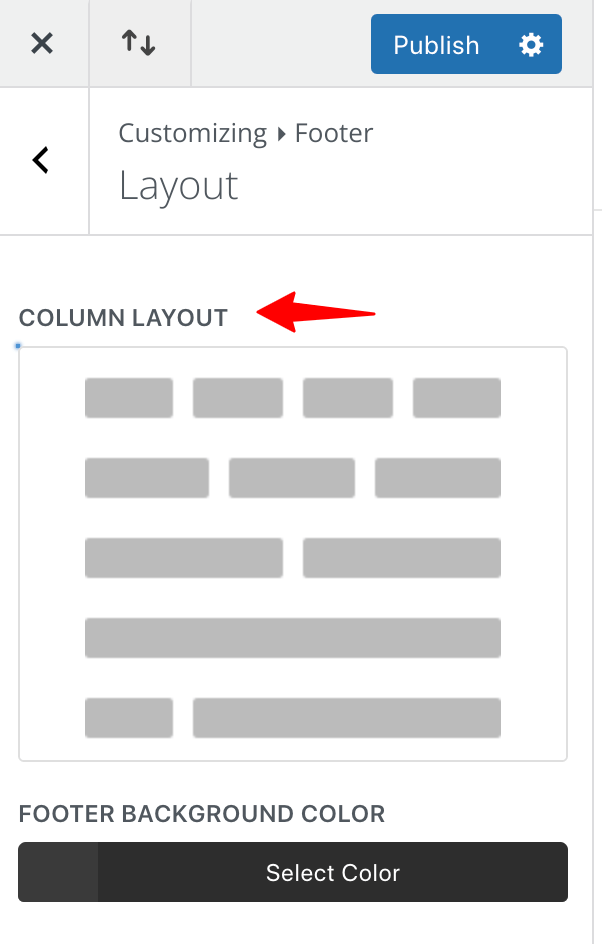
After finishing the Bottom bar, visit the “Layout” section to choose the “N” number of layouts, like 1 column, 2 columns, or any desired number.
It lets you add more widgets.
Go to the “Widgets” section to add the elements to the Footer areas like Latest posts, Categories, Images, Text, or anything from the available widgets. Click the “Publish” button.
This widget section controls how your widgets will appear. Here customization of individual text size and height, Header & Body font style, Text color, Body/Link text size & line height, Widget text & link color, etc. can be easily done.
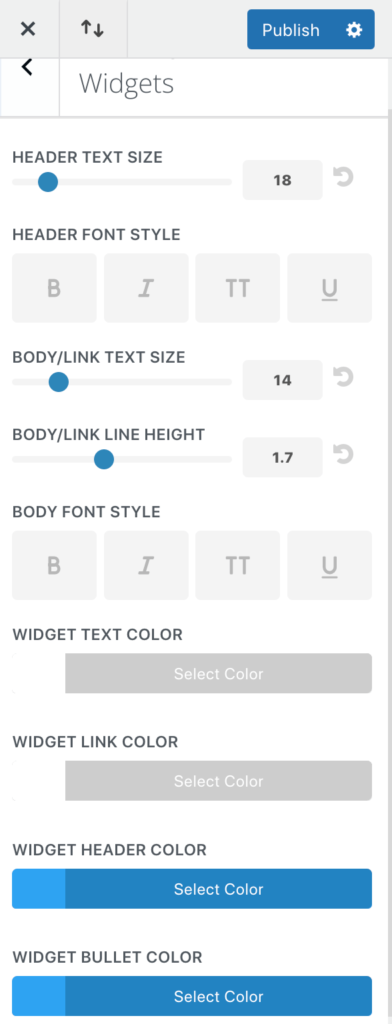
Also, if you want to change the footer section’s background color, you can do so here.
In the Footer Elements section, you can control how social media icons are displayed. You could also show or hide icons as required.
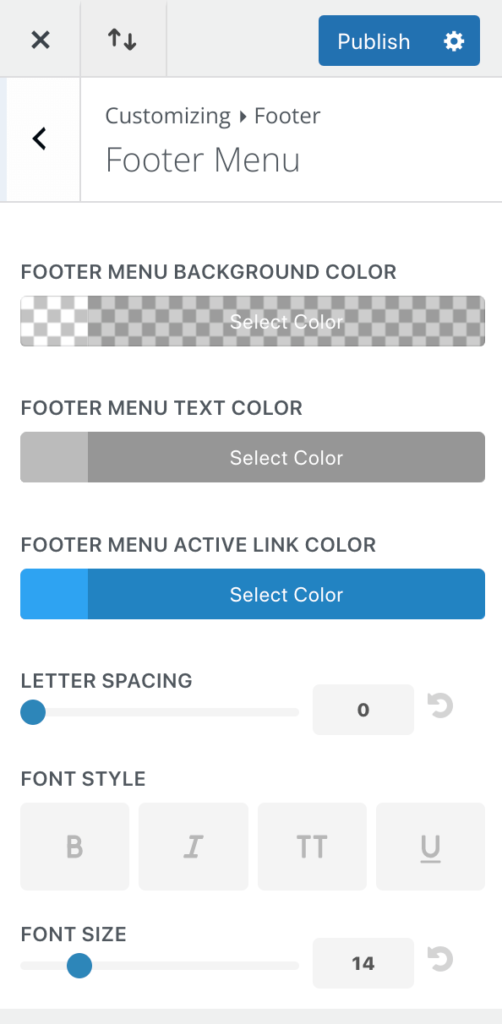
The Footer Menu section allows you to place a menu between the widget and the footer bar.
You can edit the background color, text color, letter spacing, font style, and size; see the settings in the screenshot below. After customizing your preferred settings, click “Publish” to save your design changes.
Look at the theme settings in live editing, and watch my video tutorial to modify the Divi theme footer.
Here are the most common real-world issues we encounter with the Divi theme!
Problem 1: Footer not changing
Cause: Theme Builder footer is overriding the default footer
Fix: Check the Divi Theme Builder and disable the global footer
Problem 2: Footer missing entirely
Cause: Empty Theme Builder layout or disabled widgets
Fix: Rebuild footer layout
Problem 3: Changes not visible
Cause: Cache issue
Fix: Clear the cache plugin or refresh the browser
FAQs
You can edit the bottom bar text or replace the footer entirely using Theme Builder.
Yes, with the Divi Theme Builder, you can assign custom footers to each template.
Go to Appearance → Customize → Footer → Layout. From there, you can select the number of footer columns and adjust the overall structure.
Create a menu under Appearance → Menus. Then assign it to a Footer Widget Area or insert it into a custom footer built with Divi Theme Builder using the Menu Module.
Final Thoughts
Divi Theme makes it easy to customize your footer. After building numerous client sites using Divi, I found that most footer issues are not technical failures but structural misunderstandings.
To edit Divi footer, you must understand the default footer system, the widget-based structure and the Theme Builder overrides. Combine these and gain full control over your website’s footer design and branding.
Other Divi Theme Tutorials
How To Remove Sidebar In Divi Theme?


great knowledge share from your side sir you just need to keep it up
Thanks for sharing but when I edit, I got an error on the footer
The information is good which made the development using the Divi theme very useful. Thank you.
Understood a lot. Helped me on many websites.
Thanks !!
I’m using this theme for my money sites, really awesome. Thank you for sharing the valuable tutorial on this site.
There is good information that seems to work when developing the footer Proper Guide you have done.